This post may contain affiliate links, which means I may receive a commission if you click a link and purchase something that I have recommended. Clicking these links won't cost you any extra money. Please check out my disclosure policy for more details. Thank you for your support!
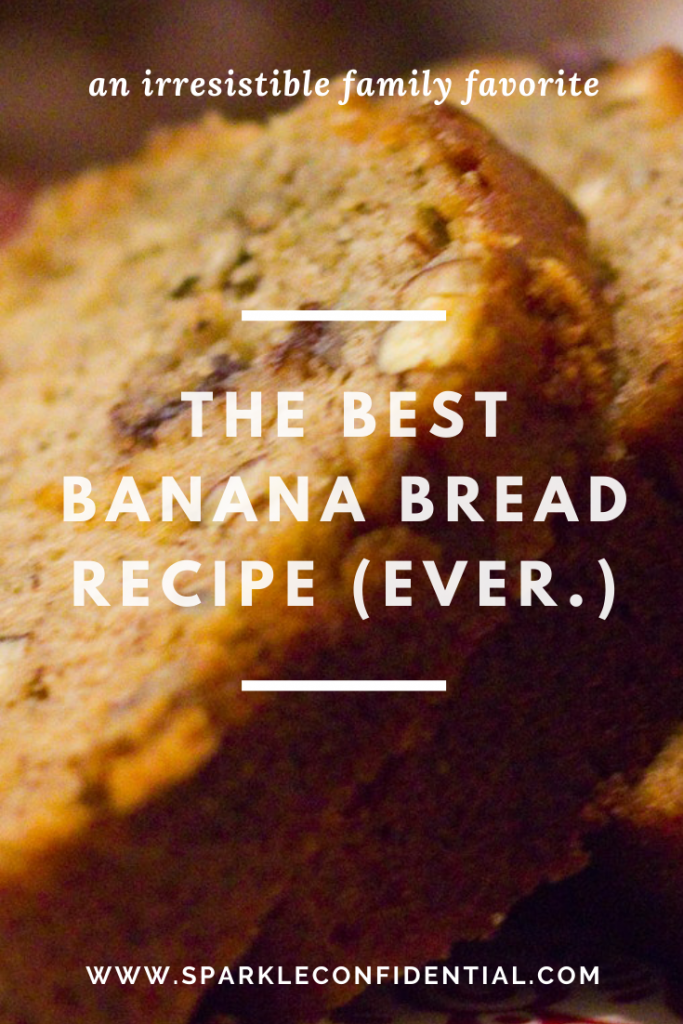
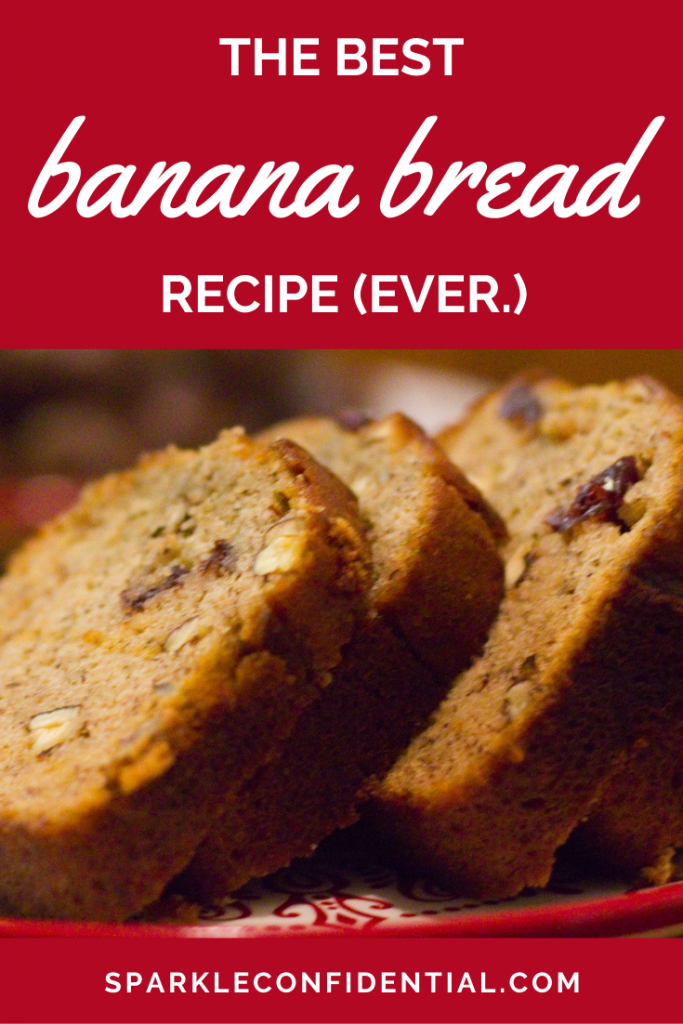
Who doesn’t love banana bread? With its irresistible hot-from-the-oven aroma, it’s a firm family favorite in our house. Whenever I see ripe bananas in the fruit bowl, their spots call out for me to make banana bread.
Banana bread is a really versatile melt-in-the-mouth treat. It goes well served with a cup of tea when friends visit, as a weekend brunch, a decadent breakfast served with a bowl of milky coffee, or as a simple dessert. And I’ve discovered it also makes a great gift!
[icon name=”hand-o-down” class=”” unprefixed_class=””] The Recipe [icon name=”hand-o-down” class=”” unprefixed_class=””]
Ingredients
- 75g dried apricots – the squidgy ones that come ready to eat
- 75g sultanas
- 1 lemon
- 100g unsalted butter, soft but not melted
- 125g caster sugar
- 2 large eggs
- 3 large ripe bananas (It’s important that the bananas are really ripe – not just yellow, but generously freckled with brown spots.)
- 200g self-raising flour
Method
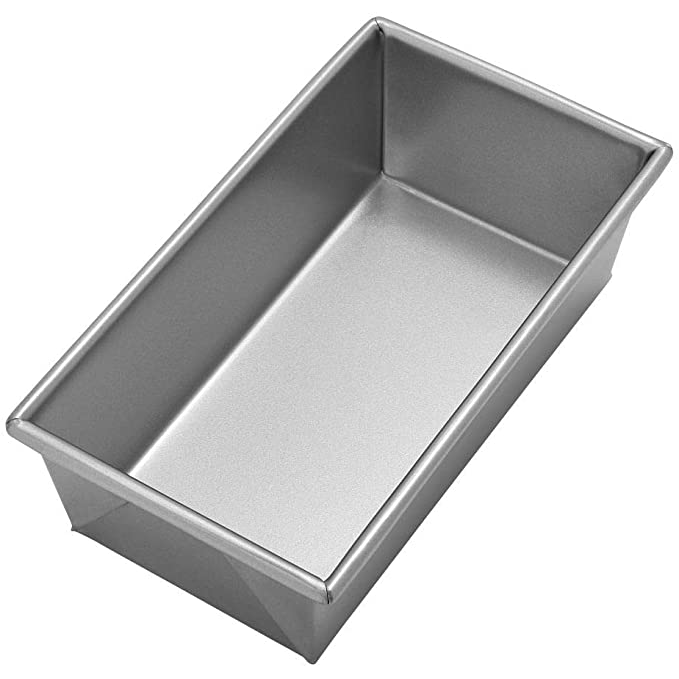
- Preheat the oven to 170°C / 150°C fan / 325°F / gas mark 3. Have ready a loaf tin measuring about 13cm x 23cm x 7cm. Either line the tin with baking parchment, or grease the tin and line the base.
- Chop the apricots so that the pieces are roughly the same size as the sultanas.
- Grate the zest of the lemon.
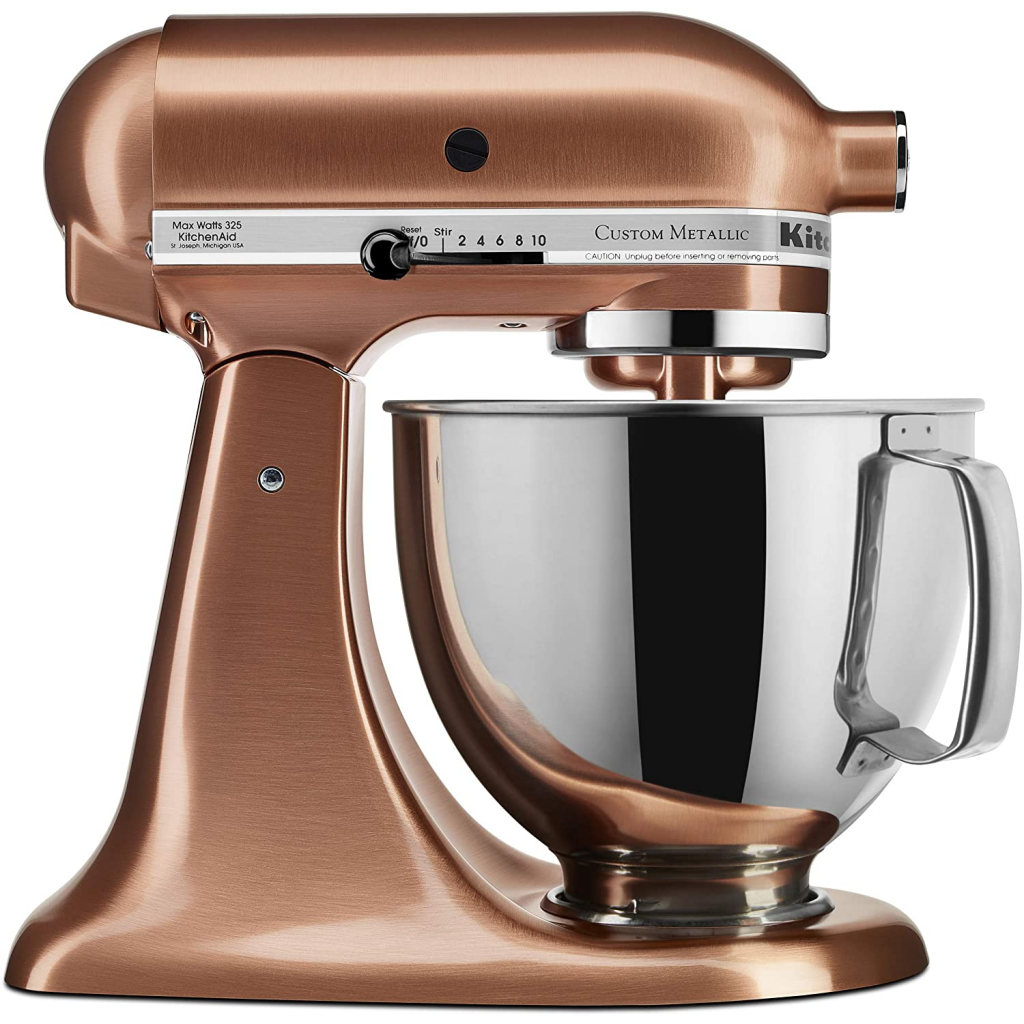
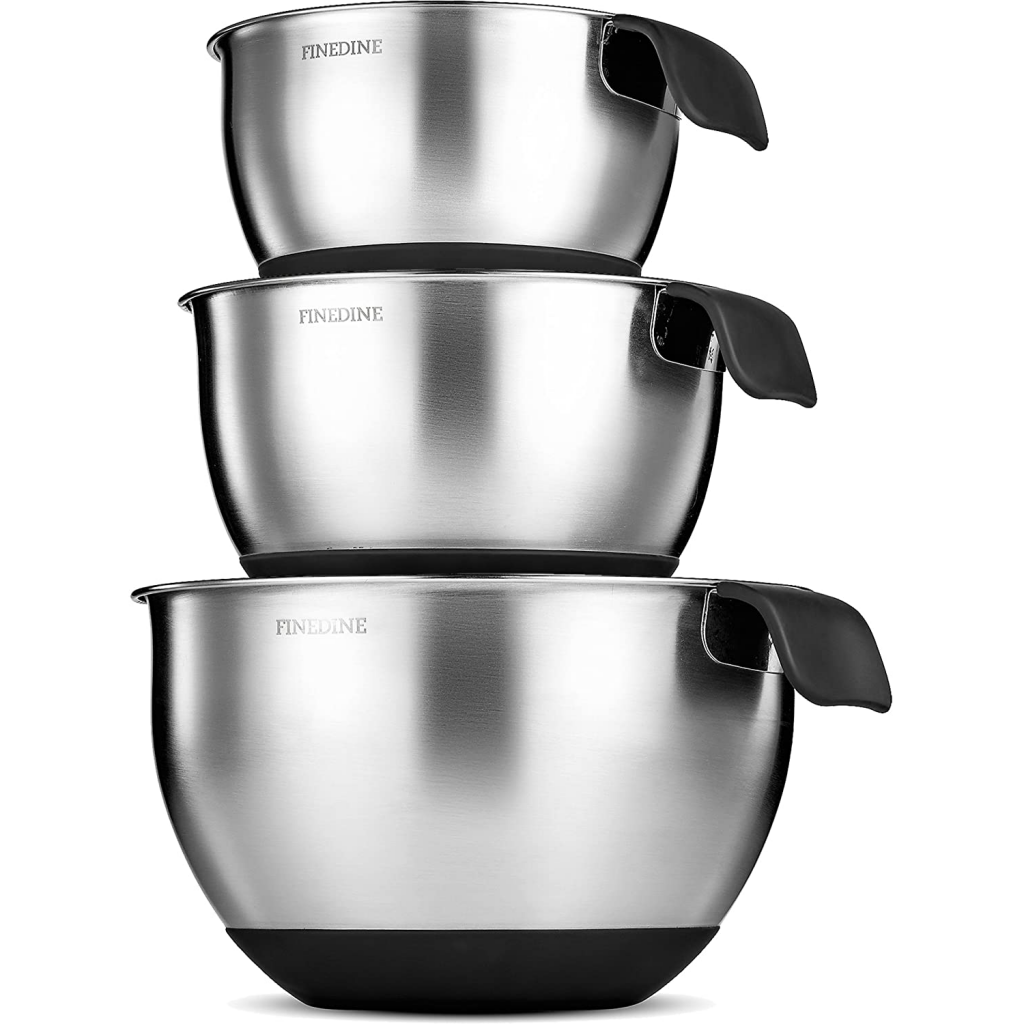
- Cream the butter and sugar in a mixing bowl, until well blended, smooth and creamy. You may simply use a wooden spoon, or use a stand mixer (fitted with a paddle or whisk attachment) on high speed for about 2 minutes.
- Break in an egg and beat it into the mixture completely, then repeat for the second egg.
- Add the dried fruit and lemon zest.
- Mash the bananas well with a fork, or slice the bananas into large pieces and place in the bowl of your stand mixer, gradually increasing from low to medium-high speed until you have mashed banana. Add the mashed banana to the mixing bowl and stir well.
- Sift the flour into the bowl and carefully fold this into the mixture with a large metal spoon, or use your stand mixer on low speed. Either way, make sure you don’t leave any ‘pockets’ of flour.
- Scrape the mixture into the prepared loaf tin and gently level the top with the back of the spoon.
- Put the tin into the oven and bake for about an hour – but check it after 50 minutes. It is ready when you can insert a knife into the middle and it comes out completely clean.
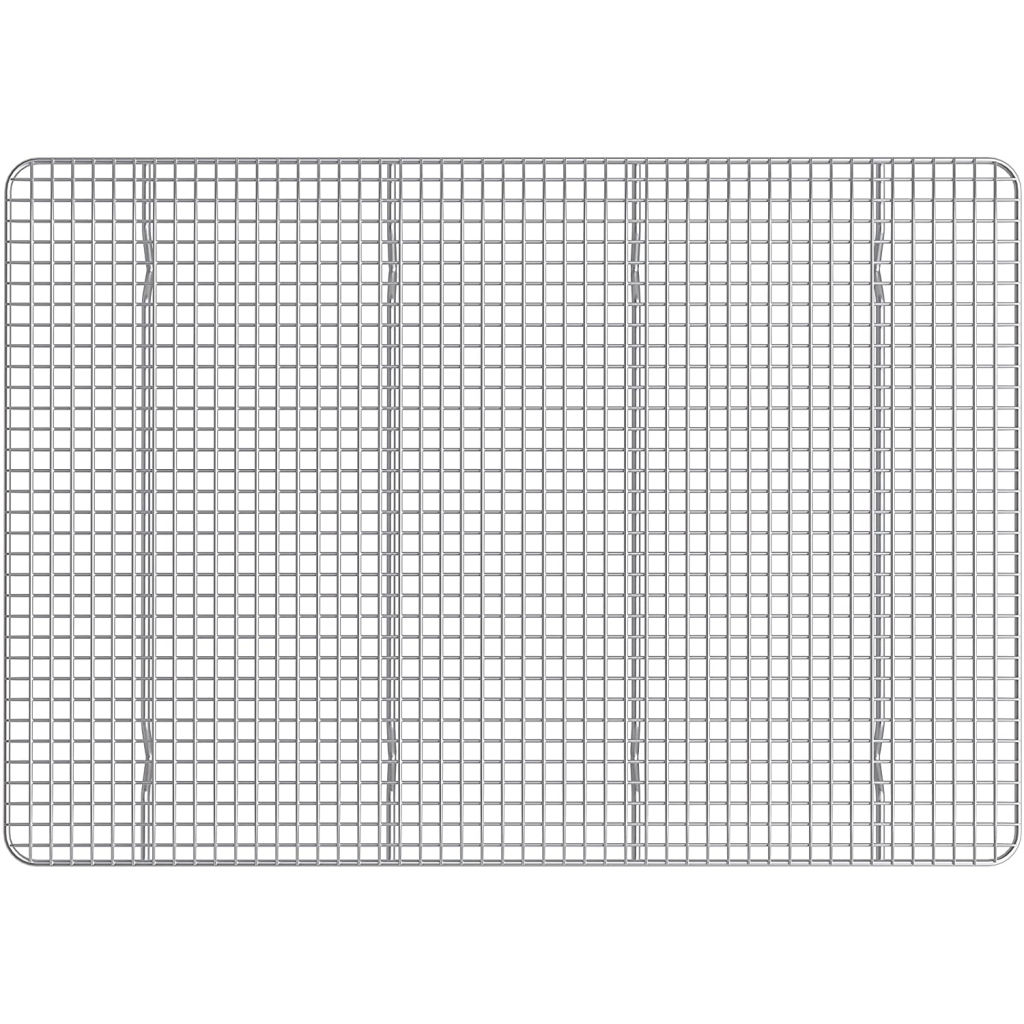
- Leave the cake in its tin on a wire rack to cool for about 15 minutes, then turn it out of the tin and peel off the baking parchment.
Storage
The banana bread is delicious to eat when it’s still just a little bit warm, but it can be stored in a tin and will remain moist for a couple of days.
Variations
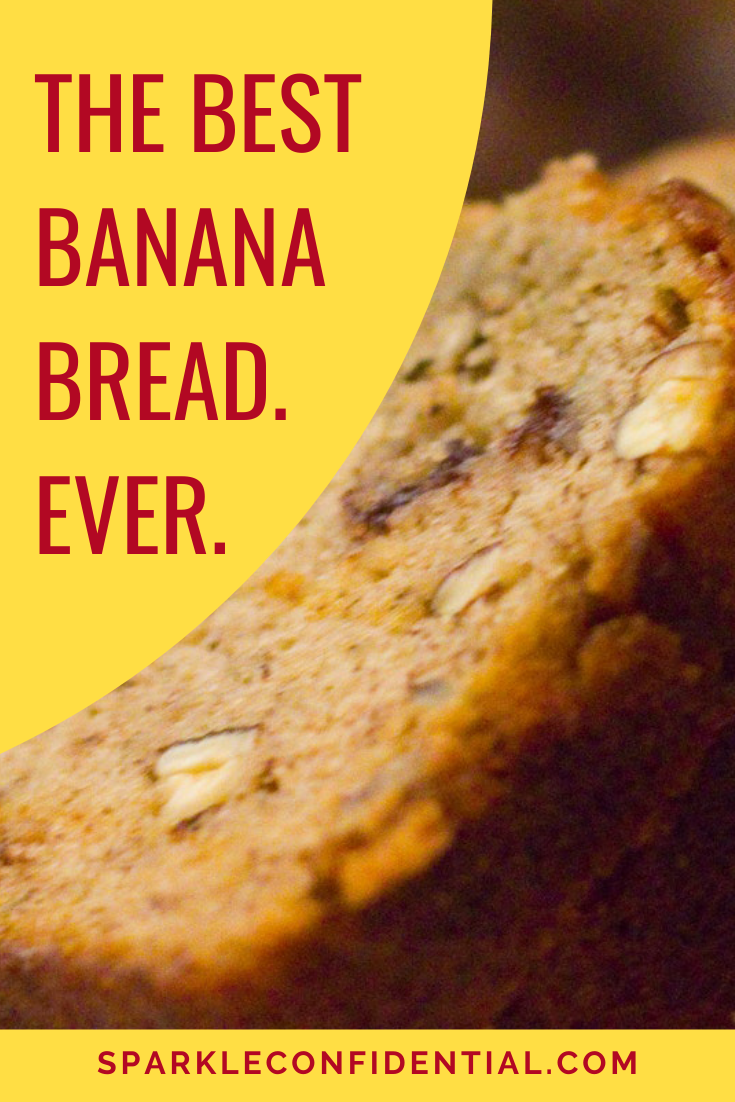
This banana bread also tastes great with added chopped walnuts and/or chocolate chips. (I actually prefer it with both.) Try adding 1 cup of either, or both, to the banana bread batter.
[icon name=”hand-o-down” class=”” unprefixed_class=””] Get the Kit [icon name=”hand-o-down” class=”” unprefixed_class=””]